")

Virtual Private Server (VPS) is a powerful tool for both individuals and businesses, offering the control of a dedicated server with the affordability of shared hosting. This guide for beginners on setting up your first server will introduce you to the basics of VPS. It will cover everything from understanding what a VPS is, to choosing a provider, and finally, setting up your first server. This guide aims to simplify the process and provide you with the knowledge to confidently navigate the world of VPS, even if you’re a complete beginner.
Understanding the Basics: A Beginners Guide to VPS
Virtual Private Servers, or VPS, are a powerful tool for businesses and individuals alike. They offer the flexibility and control of a dedicated server but at a fraction of the cost. However, setting up your first server can seem like a daunting task, especially if you’re new to the world of VPS. This article aims to demystify the process and provide a beginner guide to understanding and setting up your first VPS.
To begin with, it’s important to understand what a VPS is. A VPS is a virtual machine sold as a service by an Internet hosting provider. It runs its copy of an operating system, and customers have superuser-level access to that operating system instance, allowing them to install almost any software that runs on that OS. Essentially, a VPS is like having your dedicated server, but without the high costs associated with it.
The first step in setting up your VPS is choosing a hosting provider. There are many providers out there, each with their pros and cons. Some factors to consider when choosing a provider include cost, reliability, customer service, and the specific features they offer. It’s also worth considering the location of the provider’s data centers, as this can impact the speed and reliability of your server.
Once you’ve chosen a provider, the next step is to select a plan. Most providers offer a range of plans, each with different levels of resources such as CPU, RAM, and disk space. The plan you choose will depend on your specific needs. For example, if you’re planning to host a website with high traffic, you’ll need a plan with more resources. On the other hand, if you’re just starting out and don’t expect much traffic, a lower-tier plan may be sufficient.
After selecting a plan, you’ll need to choose an operating system for your VPS. The most common choices are Linux and Windows. Linux is often the preferred choice due to its stability and security, but Windows may be necessary if you’re planning to run software that requires it.
Once you’ve made these decisions, you can proceed with setting up your VPS. This process will vary depending on the provider but generally involves logging into your account, selecting the options you’ve chosen, and clicking a button to create your server. Most providers offer detailed guides to help you through this process.
After your server is set up, you’ll need to configure it. This involves setting up the software you want to run, configuring security settings, and setting up any necessary databases. Again, the specifics of this process will depend on what you’re planning to use your server for, but there are plenty of guides available online to help you.
Finally, once your server is configured, you can start using it. This could involve uploading your website files, setting up email accounts, or installing applications.
In conclusion, while setting up a VPS may seem complex at first, it’s a process that can be broken down into manageable steps. By understanding what a VPS is, choosing a provider and plan, selecting an operating system, setting up your server, and configuring it, you can have your first VPS up and running in no time. And with the power and flexibility that a VPS offers, the benefits are well worth the effort.
Beginners Step-by-Step Guide: Setting Up Your First VPS Server
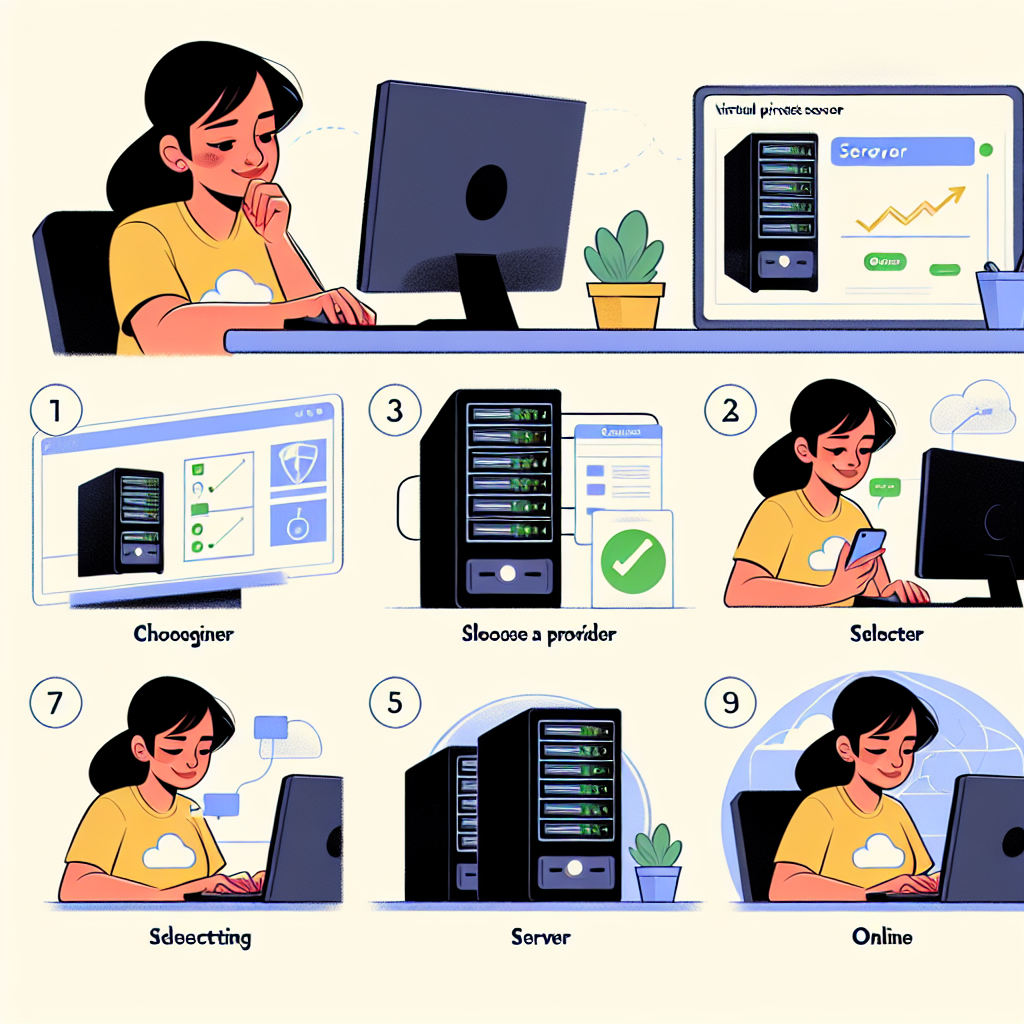 Virtual Private Servers (VPS) have become an essential tool for businesses and individuals looking to host their websites or applications. A VPS offers the perfect balance between the affordability of shared hosting and the power and flexibility of a dedicated server. If you’re a beginner, setting up your first VPS server might seem like a daunting task. However, with a step-by-step guide, you can easily navigate through the process.
Firstly, you need to choose a VPS provider. There are numerous providers available, each with its unique features and pricing structures. Some popular choices include DigitalOcean, Vultr, and Linode. When selecting a provider, consider factors such as cost, server locations, customer support, and the availability of additional features like backups and firewalls.
Once you’ve chosen a provider, the next step is to select a server package. This decision should be based on your specific needs, such as the amount of traffic you expect, the applications you plan to run, and your budget. Most providers offer a range of packages, allowing you to choose the one that best suits your requirements.
After selecting a package, you’ll need to choose an operating system for your server. The most common choices are Linux distributions such as Ubuntu, CentOS, or Debian. Your choice of operating system will depend on your familiarity with these systems and the requirements of the applications you plan to run.
The next step is to configure your server. This involves setting up the necessary software and security measures. Most VPS providers offer a control panel that simplifies this process. However, you may also need to use the command line interface, especially if you’re using a Linux-based system. This step can be complex, but there are numerous tutorials and guides available online to help you.
Once your server is configured, you can start installing your applications. This process will vary depending on the application. Some applications can be installed with a single command, while others may require more complex procedures. Again, online tutorials and guides can be invaluable resources during this step.
Finally, after installing your applications, you’ll need to monitor your server to ensure it’s running smoothly. This involves checking the server’s performance, ensuring it’s secure, and troubleshooting any issues that arise. Most VPS providers offer monitoring tools that can help with this task.
In conclusion, setting up your first VPS server involves several steps: choosing a provider, selecting a server package, choosing an operating system, configuring your server, installing your applications, and monitoring your server. While this process may seem complex, it can be made manageable with the help of online resources and tutorials. With patience and persistence, you can set up your first VPS server and enjoy the benefits of this powerful hosting solution.
Navigating VPS: Essential Tips for Beginners
Virtual Private Servers (VPS) have become an essential tool for businesses and individuals seeking to establish a robust online presence. As a beginner, setting up your first server might seem like a daunting task. However, with a few essential tips, you can navigate the world of VPS with ease and confidence.
Firstly, it’s crucial to understand what a VPS is. A VPS is a virtual machine sold as a service by an Internet hosting service. It runs its own copy of an operating system, and customers have superuser-level access to that operating system instance, allowing them to install almost any software that runs on that OS. Essentially, a VPS provides you with the flexibility and freedom of a dedicated server, but at a fraction of the cost.
When setting up your first server, choosing the right VPS hosting provider is paramount. Look for a provider that offers excellent customer support, high uptime guarantees, and scalable solutions. This will ensure that as your needs grow, your server can grow with you. Additionally, consider the location of the server. The closer the server is to your target audience, the faster your website will load for them.
Once you’ve chosen a provider, the next step is to select an operating system (OS). The two most common options are Windows and Linux. Your choice will largely depend on your specific needs and the applications you plan to run on your server. Linux is often chosen for its stability and security features, while Windows is typically selected for its ease of use, particularly for those already familiar with Windows operating systems.
After selecting an OS, you’ll need to configure your server. This involves setting up the necessary software and security measures. For software, consider what you’ll be using your server for. If you’re setting up a website, you’ll need a web server like Apache or Nginx, and a database server like MySQL. For security, ensure you have a firewall in place to protect against unauthorized access. Regularly updating your server’s software is also a key part of maintaining security.
Next, consider setting up regular backups. This is a crucial step that is often overlooked by beginners. Backups ensure that in the event of a failure or security breach, your data can be restored. Most VPS providers offer automated backup services, so be sure to take advantage of this feature.
Finally, monitor your server’s performance regularly. This will help you identify any potential issues before they become major problems. There are many tools available that can provide you with detailed analytics about your server’s performance.
In conclusion, setting up your first VPS can be a straightforward process if you understand the basics and follow these essential tips. Remember, the key to successfully navigating the world of VPS is choosing the right hosting provider, selecting an appropriate operating system, configuring your server correctly, setting up regular backups, and monitoring your server’s performance. With these steps, you’ll be well on your way to establishing a strong online presence.
Demystifying VPS: Beginners Guide to Successfully Launching Your First Server

Virtual Private Servers (VPS) have become an essential tool for businesses and individuals looking to establish a robust online presence. They offer a level of control, flexibility, and performance that shared hosting simply can’t match. However, for beginners, the process of setting up a VPS can seem daunting. This article aims to demystify VPS and guide you through the process of successfully launching your first server.
A VPS is essentially a virtual machine sold as a service by an Internet hosting provider. It runs its own copy of an operating system, and customers have superuser-level access to that operating system instance, allowing them to install almost any software that runs on that OS. The server functions as a dedicated server but is installed on a computer serving multiple websites.
The first step in setting up your VPS is choosing a hosting provider. There are numerous providers available, each with its own set of features, pricing models, and levels of customer support. It’s crucial to choose a provider that aligns with your specific needs and budget. Durnwood has some great plans that are tailored to help beginners get started with VPS servers and our experts can assist you if you get stuck or have questions.
Once you’ve chosen a provider, the next step is selecting a server package. This will largely depend on your specific needs. If you’re just starting, a lower-tier package may suffice. However, if you anticipate high levels of traffic or plan on hosting resource-intensive applications, you may need to opt for a more powerful package.
After selecting a package, you’ll need to configure your server. This involves choosing an operating system (usually a choice between Linux and Windows), setting up your server’s security features, and installing any necessary software. This process can be complex, especially for beginners. However, many hosting providers offer managed services, where they handle the server setup and maintenance for you.
Once your server is configured, you’ll need to connect it to your domain. This involves changing your domain’s DNS settings to point to your new server. This process varies depending on your domain registrar, but generally involves logging into your registrar’s control panel, navigating to the DNS settings, and entering your server’s IP address.
After connecting your domain, the final step is to install a control panel. This is a web-based interface that allows you to manage your server and its associated services. There are many control panels available, but some popular choices include cPanel, Plesk, and Webmin.
Setting up a VPS can be a complex process, especially for beginners. However, with a bit of research and patience, it’s entirely achievable. Remember, the key to a successful server setup is choosing a reliable hosting provider, selecting a server package that aligns with your needs, configuring your server correctly, connecting it to your domain, and installing a user-friendly control panel.
In conclusion, setting up your first VPS doesn’t have to be an intimidating task. With the right guidance and a clear understanding of the process, you can successfully launch your first server and take full control of your online presence. So, don’t let the technical jargon deter you. Embrace the learning curve, and before you know it, you’ll be navigating your VPS like a pro.
Conclusion
In conclusion, setting up your first Virtual Private Server (VPS) as a beginner may seem daunting, but with the right guidance, it can be a straightforward process. A VPS offers more control, flexibility, and scalability compared to shared hosting. It allows you to manage your websites more efficiently, install custom software, and scale resources as your site grows. However, it requires a basic understanding of server management and maintenance. Therefore, beginners should take time to learn these skills or consider managed VPS hosting where the hosting provider handles server-related tasks.
Elevate your online presence with our VPS Server Hosting. Experience unmatched speed, security, and scalability. Get started today and transform your digital strategy!

")